From Cookies To Crafts :: Creating Sweet Memories With Your Child This Valentine’s Day
The Valentine’s Day season is a wonderful opportunity to create delicious treats, whimsical crafts, and ultimately, special memories with your children! Here is a step-by-step guide of five simple activities to complete with your child this February! From heart-shaped cookies to colorful cupcakes and the most adorable Valentine’s Day crafts, these activities are perfect opportunities to create joy and bonding moments with your children. Try all of them, and pick a couple of favorites to be staple Valentine’s Day traditions in your family! 💓
Decorate Heart Cookies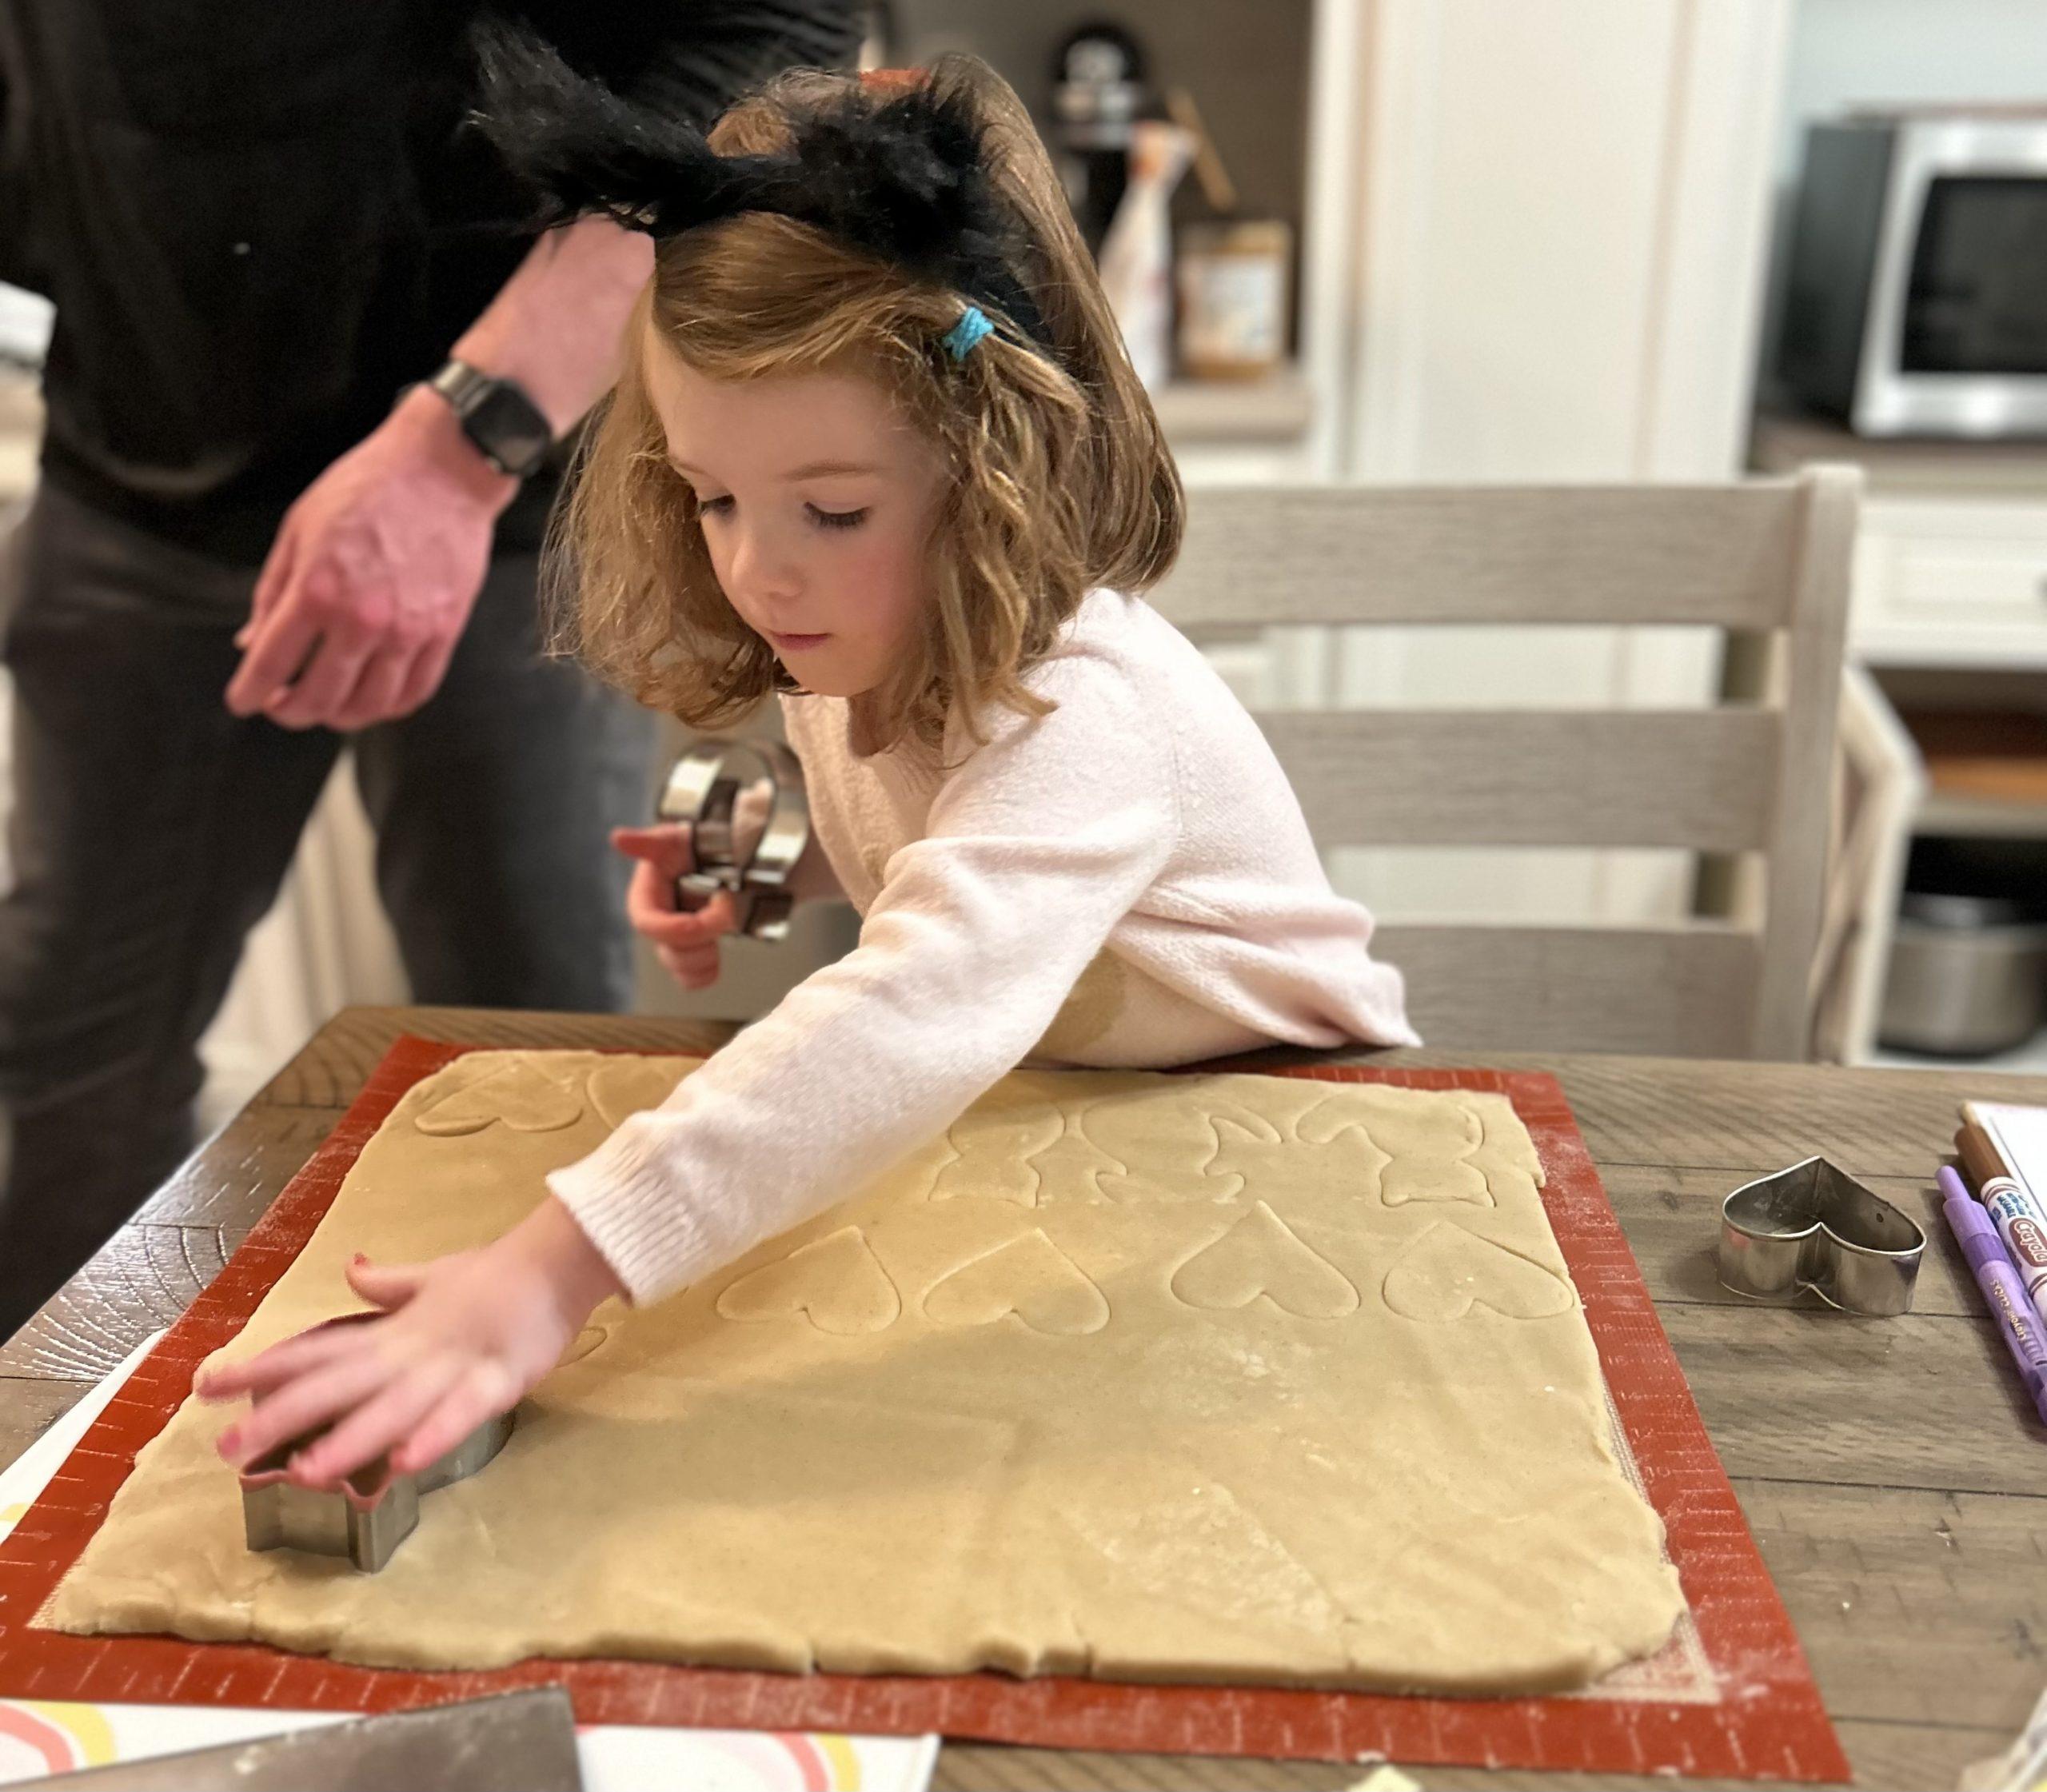
Materials Needed:
- Sugar Cookie Dough
- Rolling pin
- Heart cookie cutter
- Melting Chocolate
- Valentine’s Day sprinkles
The Process: Make sugar cookie dough according to your favorite recipe or a sugar cookie box mix. When the dough is ready, place it on a floured surface and roll it out to be as even and uniform as possible. The thickness is up to you, but aim for ¼ or ½ inches thick. Remember to involve your child in these processes! They will love helping you mix up the dough and use a rolling pin to roll out the dough!
Next, you and your child will use your heart cookie cutter to cut out as many hearts as possible! After you cut out as many hearts as you can, you will have some dough scraps left over. Ball up the dough again, roll it back out, and cut more hearts until you have no dough left!
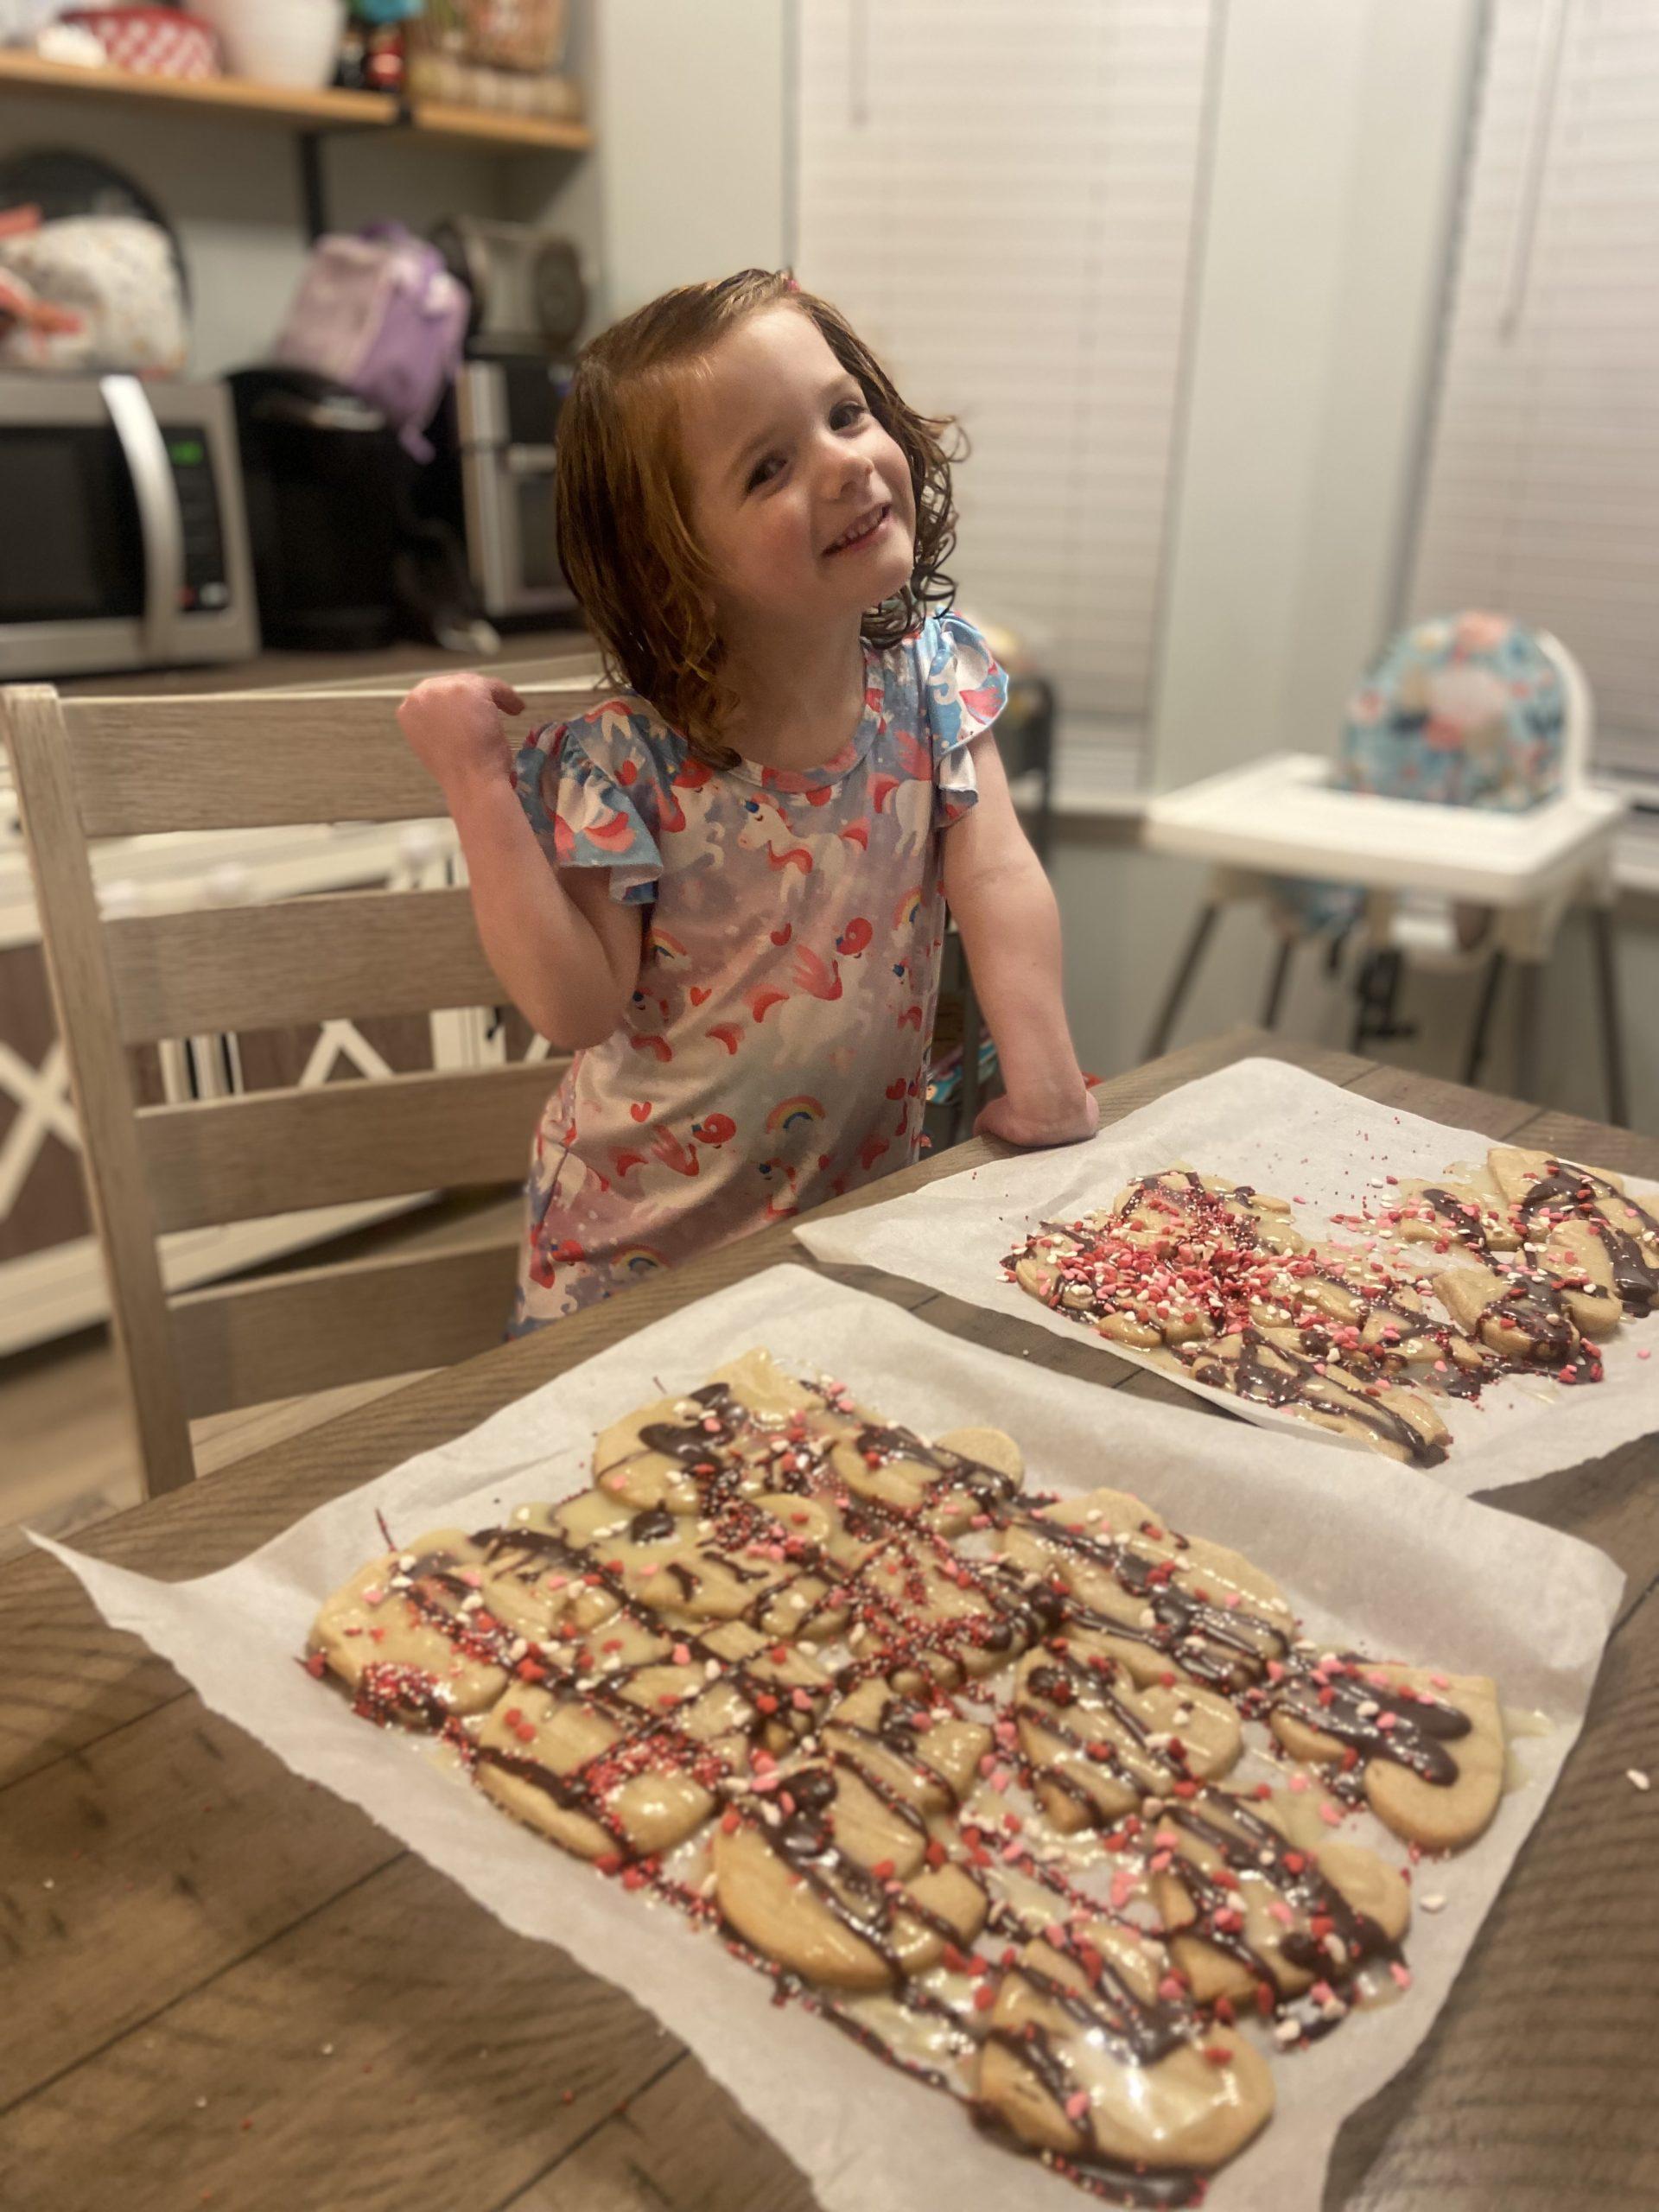
Bake cookies on parchment paper according to the recipe.
While the cookies are baking, melt the chocolate according to the package directions. Don’t be afraid to try different kinds of chocolate, such as white chocolate, milk chocolate, or dark chocolate! When your cookies are finished baking and cooled, you and your child will drizzle the chocolate onto the cookies, and top with Valentine’s Day sprinkles! (Pro Tip: Blend the chocolate with a splash of milk to thin it out. Use a turkey baster to easily drizzle the chocolate!)
Bake Valentine’s Day Cupcakes
Materials Needed:
- Your favorite plain cupcake recipe or mix
- Funfetti Valentine’s Day icing with sprinkles (or buy pink icing and sprinkles separately)
- Piping bags
- Heart Cupcake Toppers
- Red food coloring
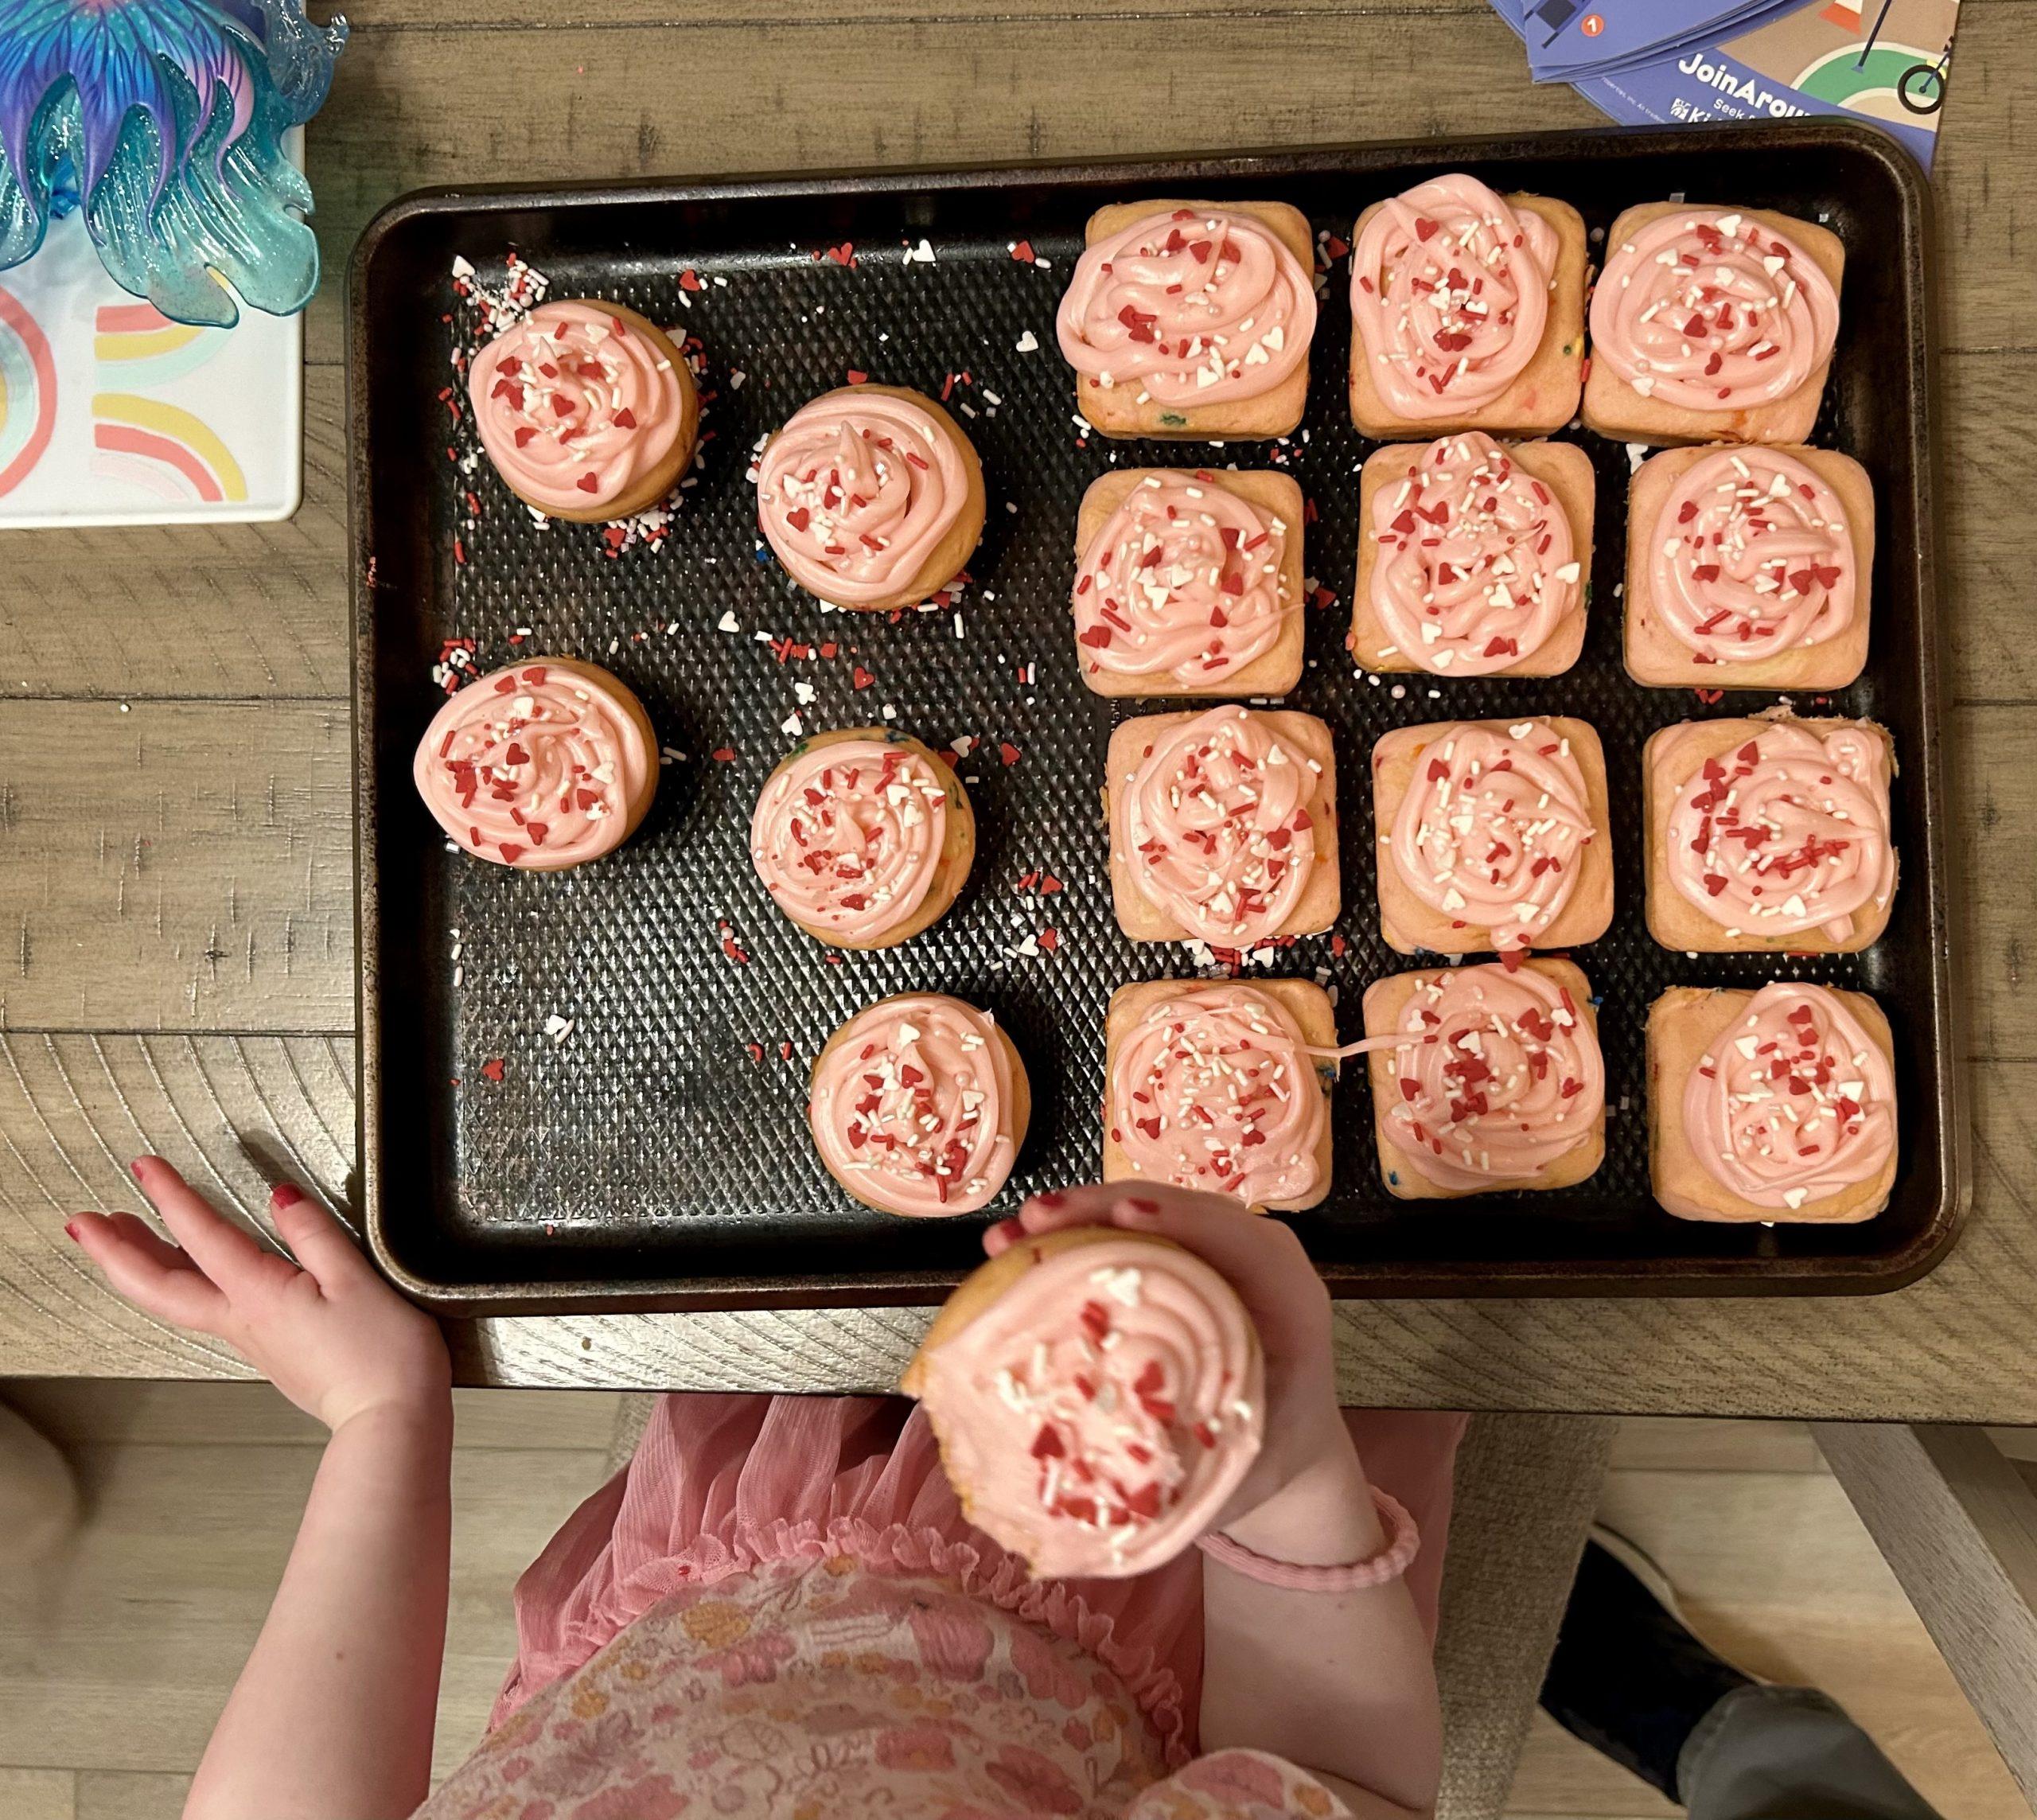
The Process: Make cupcake batter according to your favorite recipe or box mix. Before baking the cupcakes, mix a couple of drops of red food coloring into your batter. Mix well until you have the perfect Valentine’s Day pink color!
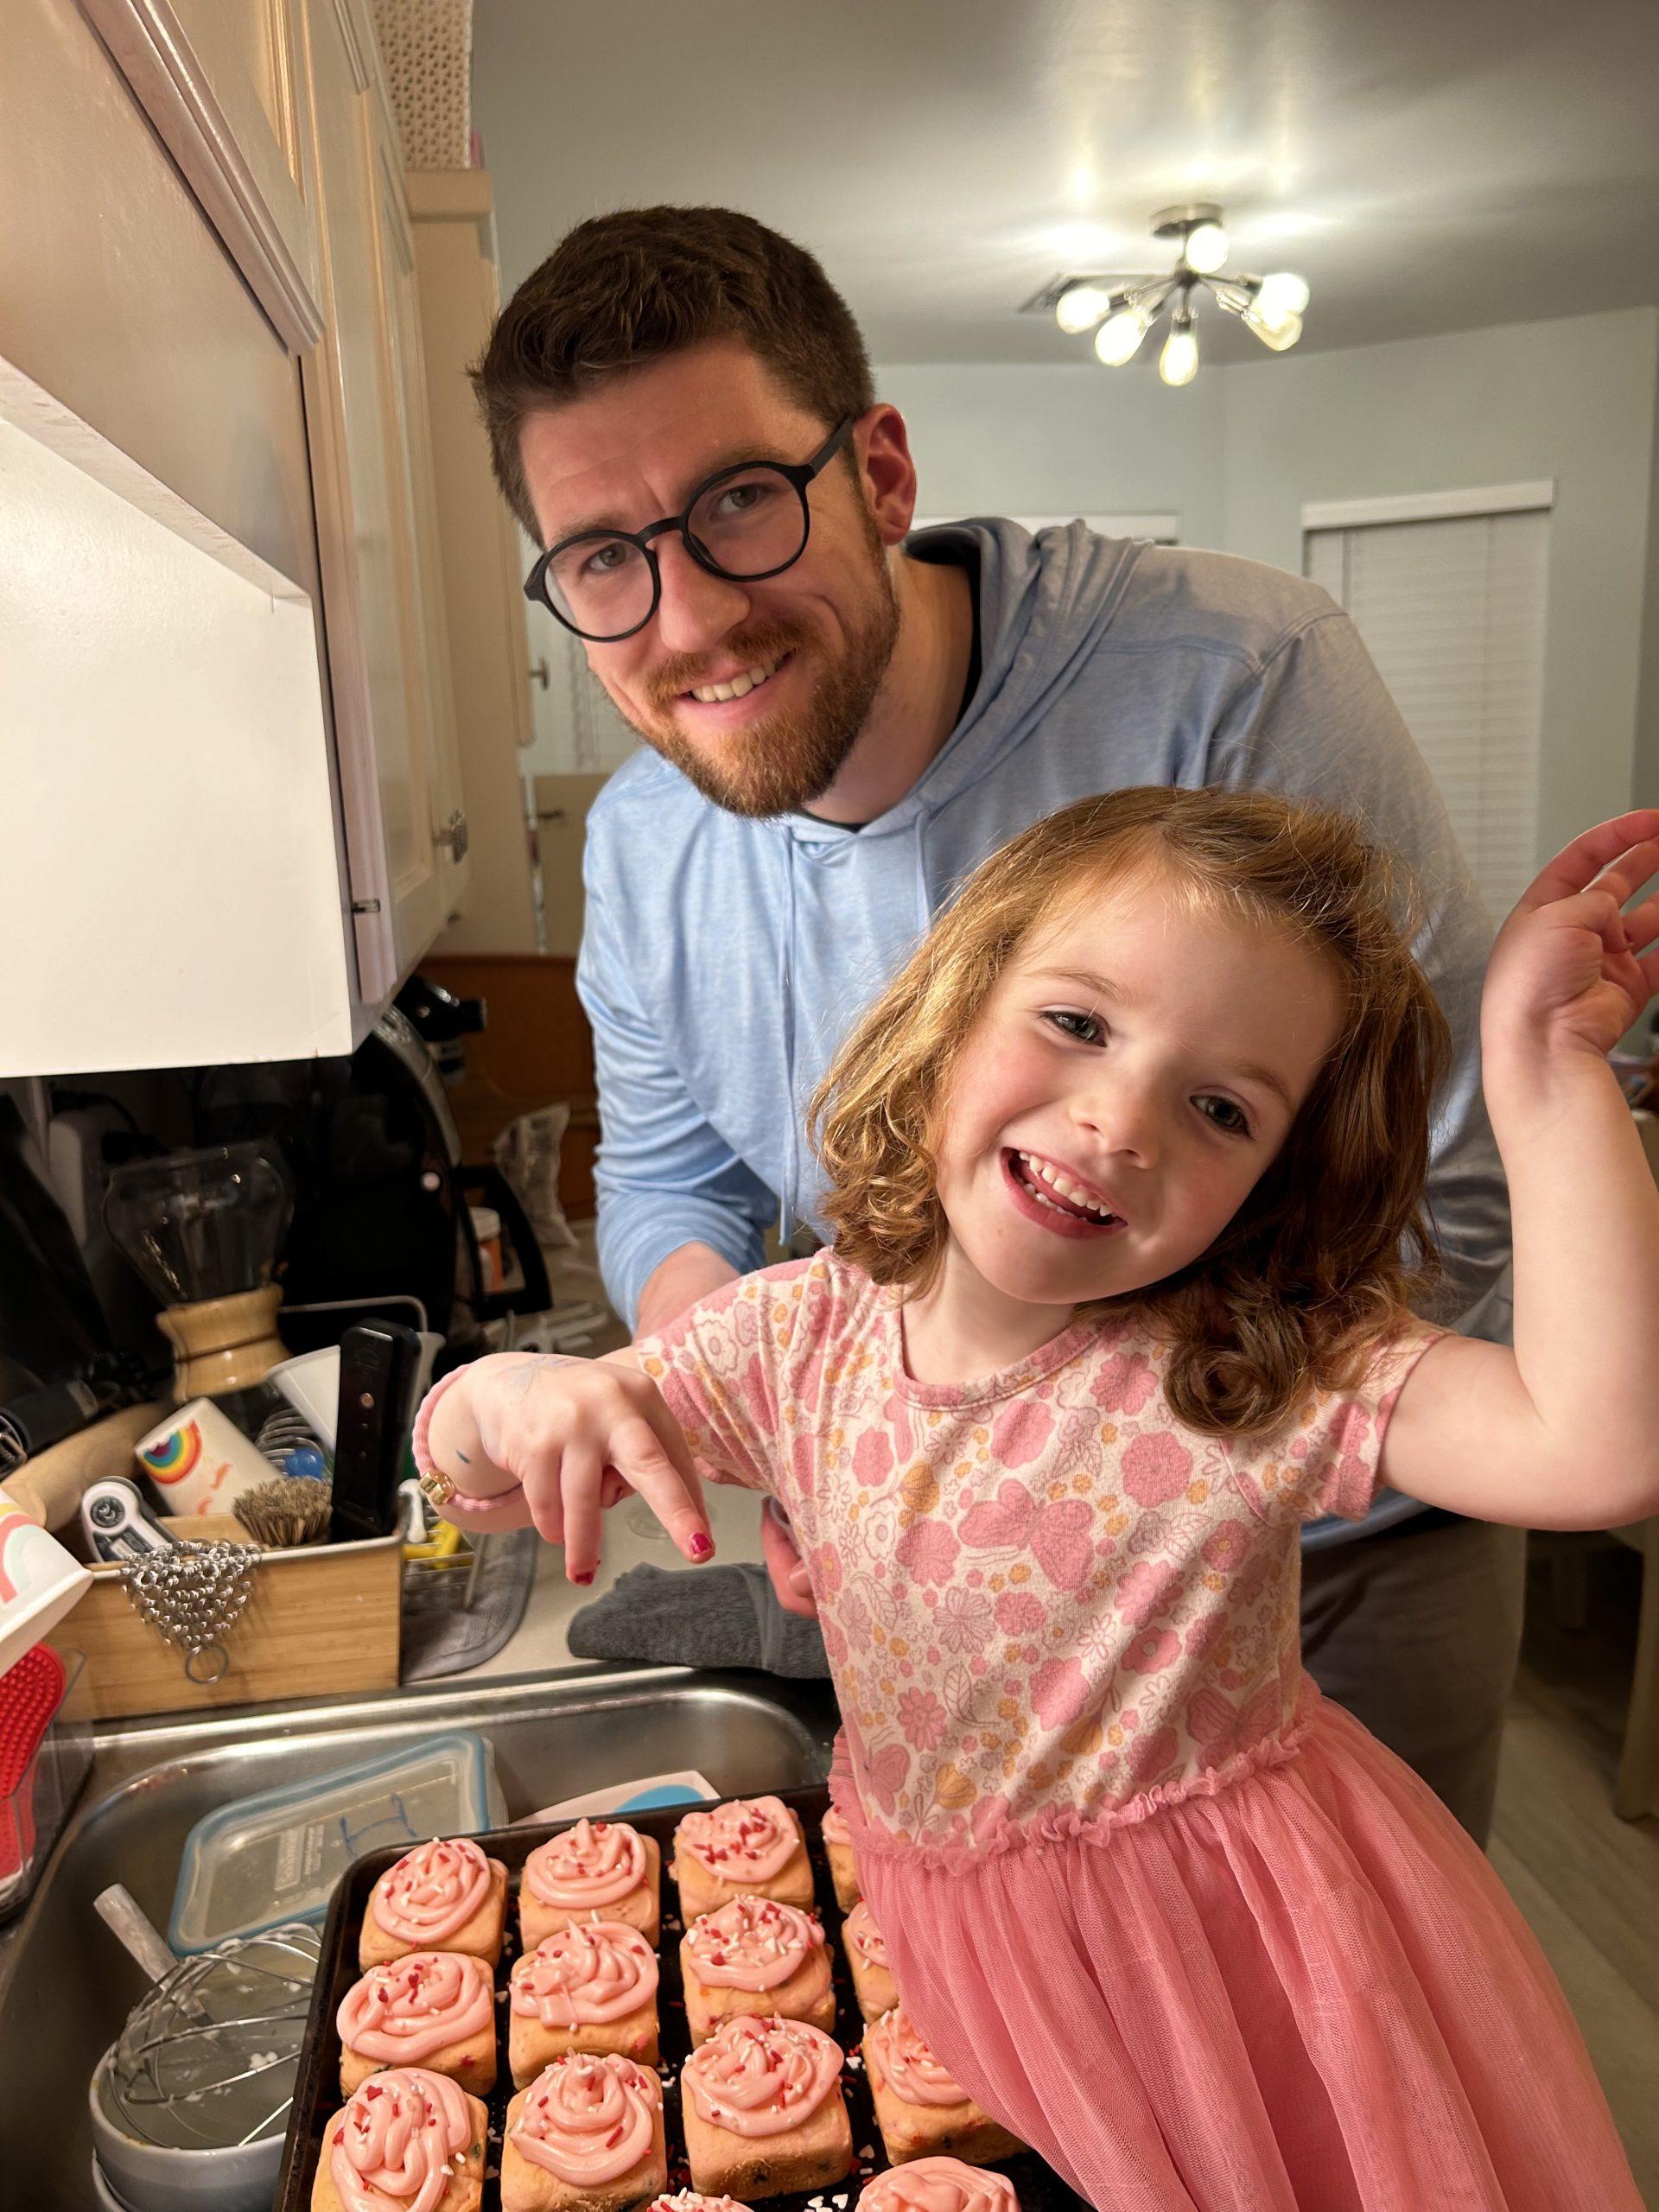
Bake cupcakes according to the recipe or directions. (Optional: bake in Valentine’s Day-themed cupcake liners!) While cupcakes are baking, scoop pink icing into piping bags. When the cupcakes are finished baking and cooled, you and your child will ice the cupcakes using the piping bags! Top each cupcake with Valentine’s Day sprinkles and a heart cupcake topper!
Make Heart Shaped Pancakes

Materials Needed:
- Your choice of pankcake mix
- Heart cookie cutter
- Pink or Valentine’s Day sprinkles
- Powdered sugar
The Process: Mix pancake batter according to the directions of your favorite pancake mix or recipe. Spray a skillet with cooking spray and pre-heat the skillet to medium heat. Place the heart-shaped cookie cutter in the skillet. Pour pancake batter into the cookie cutter, filling it up about halfway. Wait for the batter to bubble. Remove the cookie cutter and gently flip the pancake. Repeat the process to make as many heart-shaped pancakes.
If you would like to keep your child away from the heat, have them help you with the finishes! Finish your pancakes with powdered sugar and Valentine’s Day sprinkles.
Heart Resist Art
Materials Needed:
- Foam hearts or paper heart cutouts
- Washable paint in Valentine’s Day colors (Pro Tip: Choose pretty colors complimenting a Valentine’s Theme. Even if your child gets a little paint-happy, the project will still look pretty! 🙂 Try light pink, dark pink, lavender, white, and teal or yellow for a pop!)
- Glitter paint or glitter to be an extra-cool mom! 😎
- White cardstock
- Painters tape
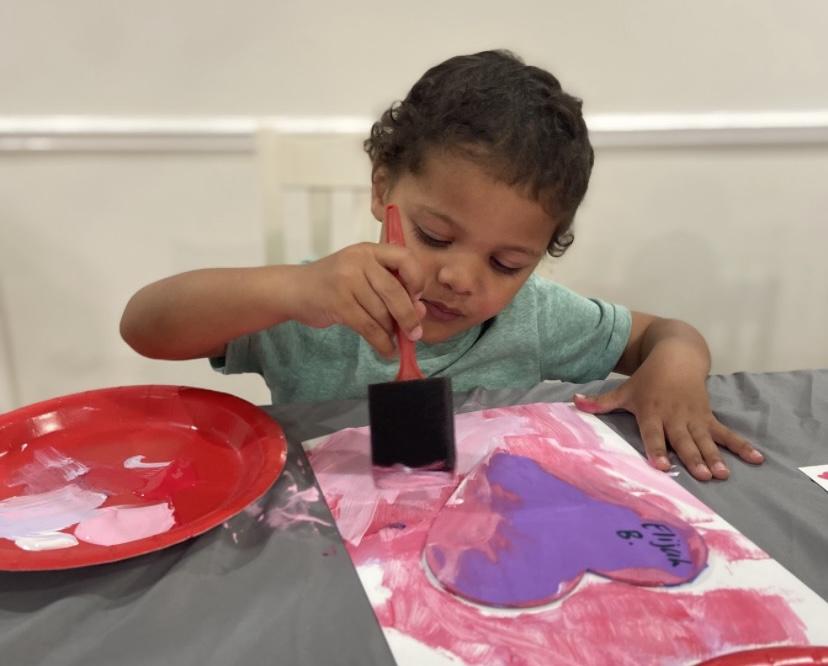
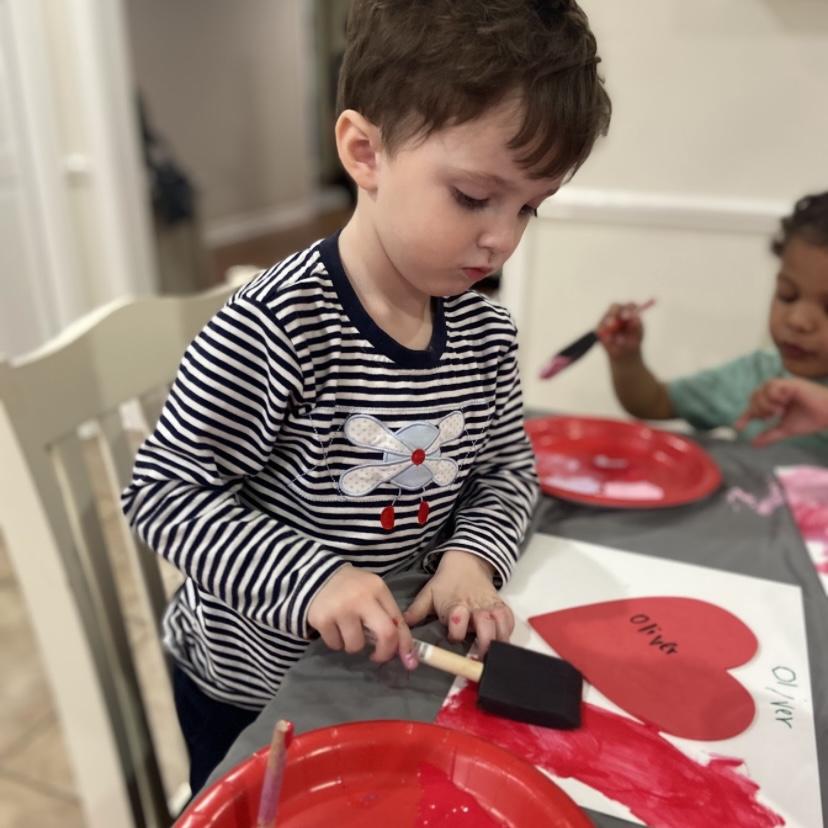
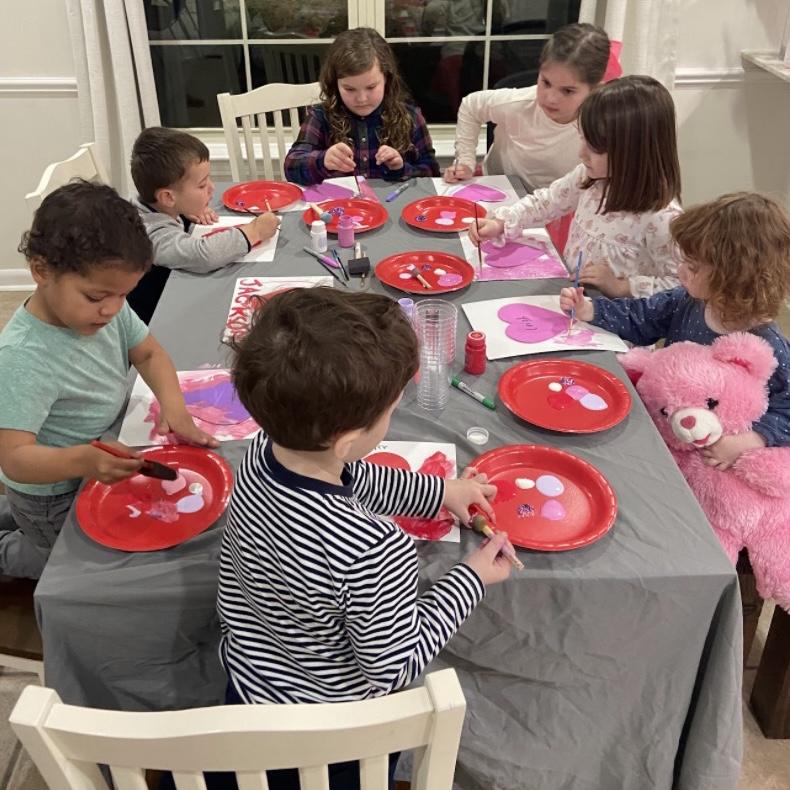
The Process: The process for this activity is super easy and a child as young as two years old will enjoy it! (You can try it with your one-year-old if you are brave 😎) First, tape the foam or paper heart down on the cardstock with painter’s tape. Your child will paint their own design all over the exposed parts of the cardstock. Allow the paint to dry completely before removing the heart to reveal your child’s unique Heart Resist Art creation!
Tissue Paper Rainbow Art
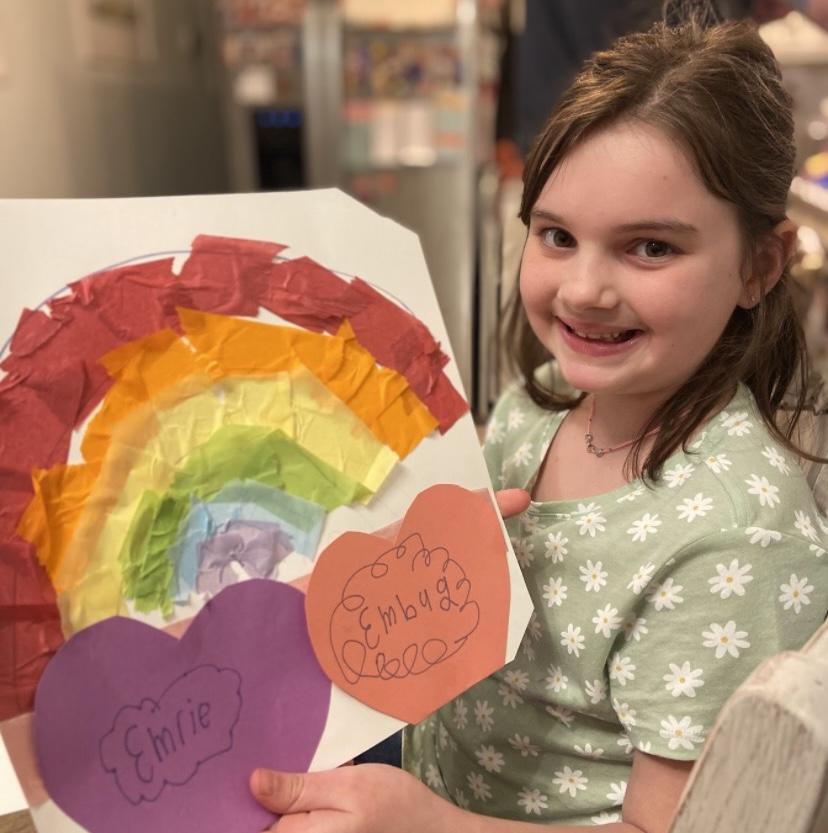
Materials Needed:
- Tissue paper in rainbow colors cut into strips
- Construction paper or colored paper
- White paper
- Gluestick
- Sharpie
The Process: This activity is also easy, fun, and great for all ages! First, draw a rainbow outline on your cardstock. An older child could do this themselves, and a younger child will need your help. Next, give your child colored tissue paper cut into strips. Your child’s task will be to rip up the tissue paper into small squares or chunks. When they are finished ripping, your child will glue the tissue paper chunks onto the outline to create a rainbow! Finally, cut out hearts for clouds and glue them at the base of your rainbow!


