


In the month of December, they seem to be lurking around every corner. Chipped, sprinkled, iced, plain, they’re waiting at parties, in break rooms, and on your kitchen counter. A good one is oh, so good, and a poorly executed one leaves a bad taste in your mouth, literally.
I’m, of course, talking about cookies.
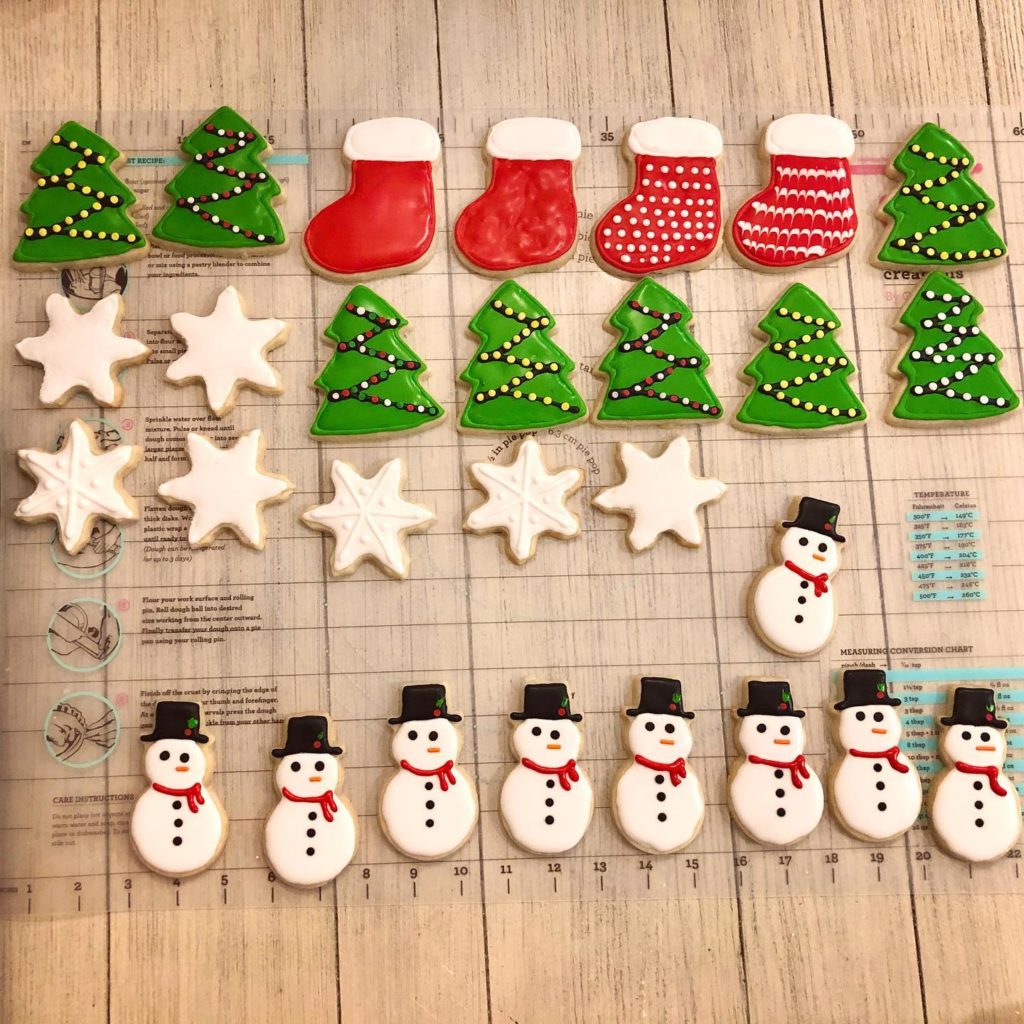
For the purposes of this post, we’re going to be talking about a classic: the sugar cookie. Specifically, those gorgeous cut-out sugar cookies, decorated with royal icing. They can seem intimidating at first, sure, but with practice and patience, I promise you’re on your way to holiday cookie greatness!
Tip #1: Do your prep work.
This tip is going to cover some basics. Make sure you have your recipes for both the cookies and the royal icing. Double-check all of your ingredients. Just trust me when I say you don’t want to be making a mid-bake Walmart run for more meringue powder! Finally, check your equipment. Cookie cutters are the obvious one here, but if you’re decorating, make sure you have piping bags and tips on hand.
Tip #2: Warm it up.
Let’s mix up that cookie dough! You want it to be smooth, well blended, with your ingredients all evenly distributed, right? Well, then you actually need to start your ingredient prep an hour or two before you’re ready to bake because the butter and eggs should be at room temperature before you start mixing.
For anyone thinking about a shortcut, let me make one thing real clear here: Do. Not. Put. The. Butter. In. The. Microwave.
It’ll heat unevenly, potentially melt in spots, and is just not a friend to your cookie texture.
Tip #3: Now chill, baby!
You picked out those holly jolly cookie cutters, and want to make sure those shapes look just as good once they’re baked, right? Then you need to pop them in the freezer.
Once your cookies have been rolled out and cut, just put the entire tray of cutouts in the freezer for at least 15 minutes (although I’ve been known to leave mine in there for as long as an hour). This will keep your shapes from spreading out, and turning your snowflake into a snow puddle.
Tip #4: Let’s gel!
Oh my gosh, your cookies turned out great! Now let’s decorate them. The royal icing can be the most intimidating part of this whole process — I know it’s what held me back from jumping into the decorating deep end in the past.
Once you’ve got it mixed up, pick a few colors to decorate with (if this is your first time, I’d stick to 2-3 colors). You’ll want to use gel food coloring to tint your icing. The liquid kind will mess with your consistency, and potentially keep the icing from drying properly. Start slow — I add mine a few drops at a time with a toothpick. A little will go a long way here.
And in the interest of holiday spirit, I’ll go ahead and give you this advice: getting red and black just right (and not various shades of pink and gray) can be really difficult at first. Remember that mid-bake Walmart trip I mentioned earlier? It was because I had botched my third batch of red icing, and had a full-on ugly cry in the baking aisle. I had to experiment with a few different brands of gel color to find the one that worked just right for me.
Now you’re ready! Be patient as you decorate, and keep a slow, steady hand. You’re on your way to a picture-perfect tray of holiday cookies!


